
This guide explains how to set up and use Paragon chip and PIN terminals with WellnessLiving. It also includes key limitations, troubleshooting steps, and important information about connectivity, syncing, payments, and security.
About Paragon chip and PIN terminals
Paragon chip and PIN terminals are secure electronic devices used to process credit and debit card payments when making sales in the store in the Staff Back Office. These terminals support chip entry, PIN verification, and contactless payments, and provide enhanced security and ease of use during checkout.
The current terminal is the Verifone V400m, a portable Linux-based operating system with Wi-Fi connectivity, EMV (the chip-card payment standard), and NFC (contactless payment technology). It's a portable, long-range wireless terminal that can process transactions anywhere with Wi-Fi coverage. When you purchase a V400m, the charging base is included. There's no wired ethernet option.
The Verifone V400c Plus is a legacy terminal that's no longer available for purchase. For setup and connectivity information for either model, see Getting started with your Paragon chip and PIN terminal.
Supported Chip and PIN terminals
The table below includes a list of chip and PIN terminals that are compatible with WellnessLiving.
Model | Network Connectivity | Payment Input Methods | Touchscreen | Thermal Printer | Device Compatibility | Power Connection |
|---|---|---|---|---|---|---|
V400c Plus (legacy; no longer available for purchase) | Ethernet, Wi-Fi | Chip and PIN, NFC (contactless payments) | Yes | Yes | Desktops and laptops | AC/DC power adapter |
V400m | Wi-Fi | Chip and PIN, NFC (contactless payments) | Yes | Yes | Desktops and laptops | Charging base |
Setup and configuration
To set the time on a terminal, contact Paragon’s Customer Care team.
When a terminal is shipped, an email is sent that includes the terminal’s serial number, terminal ID, and, if requested for Wi‑Fi configuration, instructions for connecting to Wi‑Fi.
Certain features can’t be changed:
Audio, such as keypad and touchscreen sounds
Keypad lights
Screen backlight
Contactless (tap) payments
The terminal ID can be found in two ways:
On the device itself:
From the main menu, press 1. The bottom of the READY... screen displays the terminal ID followed by a 3-digit number.
The terminal ID is also provided in the email sent to you when the device is shipped.
To inspect and install your terminal, see Getting started with your Paragon chip and PIN terminal.
Device compatibility and modes
Verifone terminals aren’t compatible with the Elevate Staff App. Staff must use the Staff Back Office to process transactions.
Terminals can’t be used as standalone devices. The terminal must be set up as integrated payment processing solution and synced with WellnessLiving.
To check the mode:
7 options on the main menu indicates the terminal is on standalone mode and needs to be changed to integrated. Contact WellnessLiving Support to switch from standalone to integrated.
3 options on the main menu the terminal is on integrated mode.
Power and mechanical issues
When blank or incorrect information appears on the screen, or the keypad becomes unresponsive, unplug the terminal, wait five seconds, and plug it back in.
If the terminal isn’t receiving power, check the connection to the power source.
Network connectivity
To check network status, hold 1, 5, and 9 on the main menu, then select Com Control. The Communication Panel shows several network statuses:
Down – connected but unresponsive
Off – not connected
Up – connected and functioning
If network connectivity is lost during a sale, press 1 to complete the transaction after the connection is restored.
Choosing a connection type
The V400m connects over Wi-Fi only. WellnessLiving ships the V400m with the charging base only, which doesn't support a wired ethernet connection.
If you're deciding between connection types, keep the following in mind:
Wired (ethernet) – more stable and less prone to interference and signal drop. Recommended where available. Supported on legacy V400c+ terminals only.
Wi-Fi – convenient but can be degraded by interference, physical obstructions, and firmware (internal software) mismatches. This is the primary connection method for the V400m.
Troubleshooting Wi-Fi connectivity
To troubleshoot Wi-Fi connectivity on your V400m terminal:
Check that your router is broadcasting on the 5 GHz band and that the terminal is connected to it. The 5 GHz band is faster and less congested than 2.4 GHz.
Move the terminal closer to your router, or remove any obstructions between them such as walls, shelving, or other equipment. Physical obstructions weaken the Wi-Fi signal.
Check that the firmware (internal software) on both the terminal and your router is up to date. Outdated firmware can cause connectivity and communication issues.
Contact Paragon's Customer Care team to configure a static IP address for the terminal. A static IP prevents the terminal from being assigned a different address each time it reconnects, which can improve connection stability.
Syncing across locations
A terminal and its Terminal ID are configured to one merchant account and can't be used across multiple locations. To sync or desync a terminal from its location, see Getting started with your Paragon chip and PIN terminal.
However, it’s recommended to purchase one terminal per location to avoid moving terminals between locations.
Renaming a location in WellnessLiving automatically update the terminal’s assigned location name.
Payment methods
WellnessLiving physical gift cards aren’t compatible with terminals. To redeem a gift card, use the redemption code.
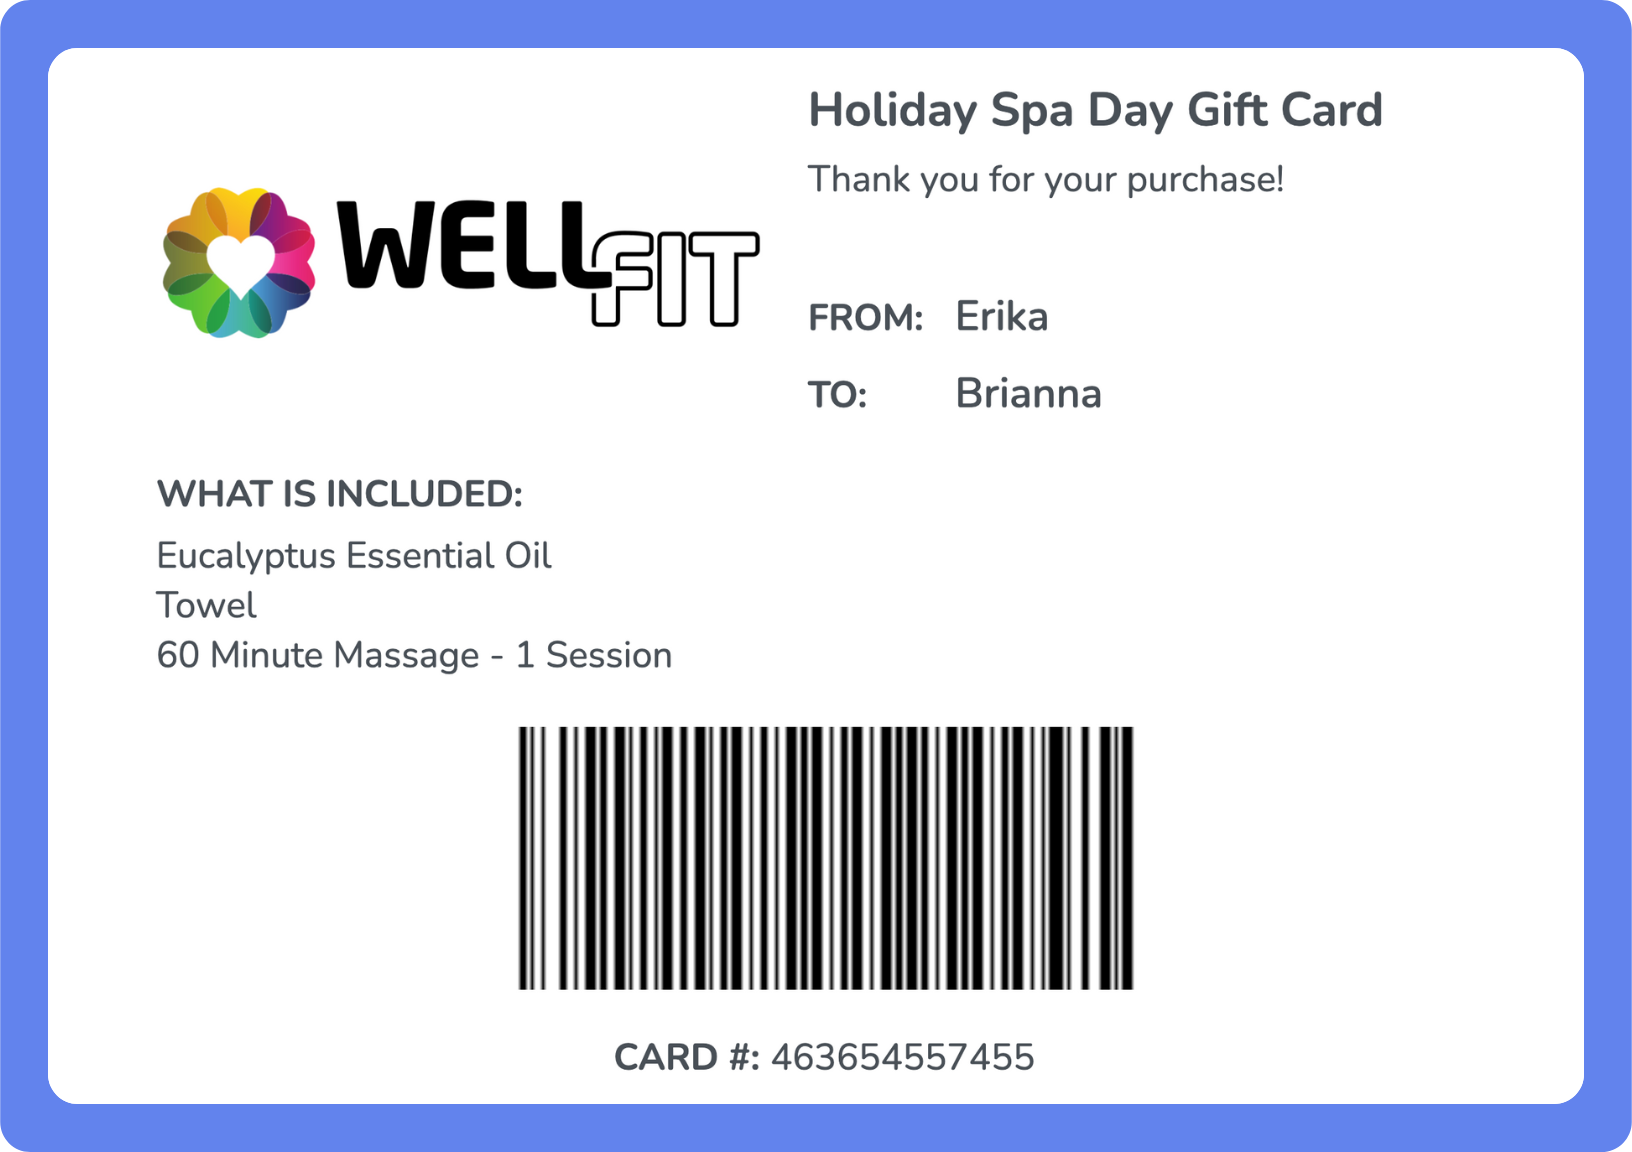
When redeeming gift cards and accepting different payment methods, keep the following in mind:
Verifone terminals support Google Pay and Apple Pay if the card is Visa, Mastercard, Discover, or American Express.
PIN debit is accepted if the debit card doesn't carry a credit logo and the merchant account allows it.
Physical Apple cards don’t work because they don’t have Near-Field Communication (NFC) capabilities.
Credit card information and transactions
When processing credit card payments, there are a few things to know about saving cards, handling refunds, and managing errors on the terminal. The following list highlights the key details and common scenarios you may encounter.
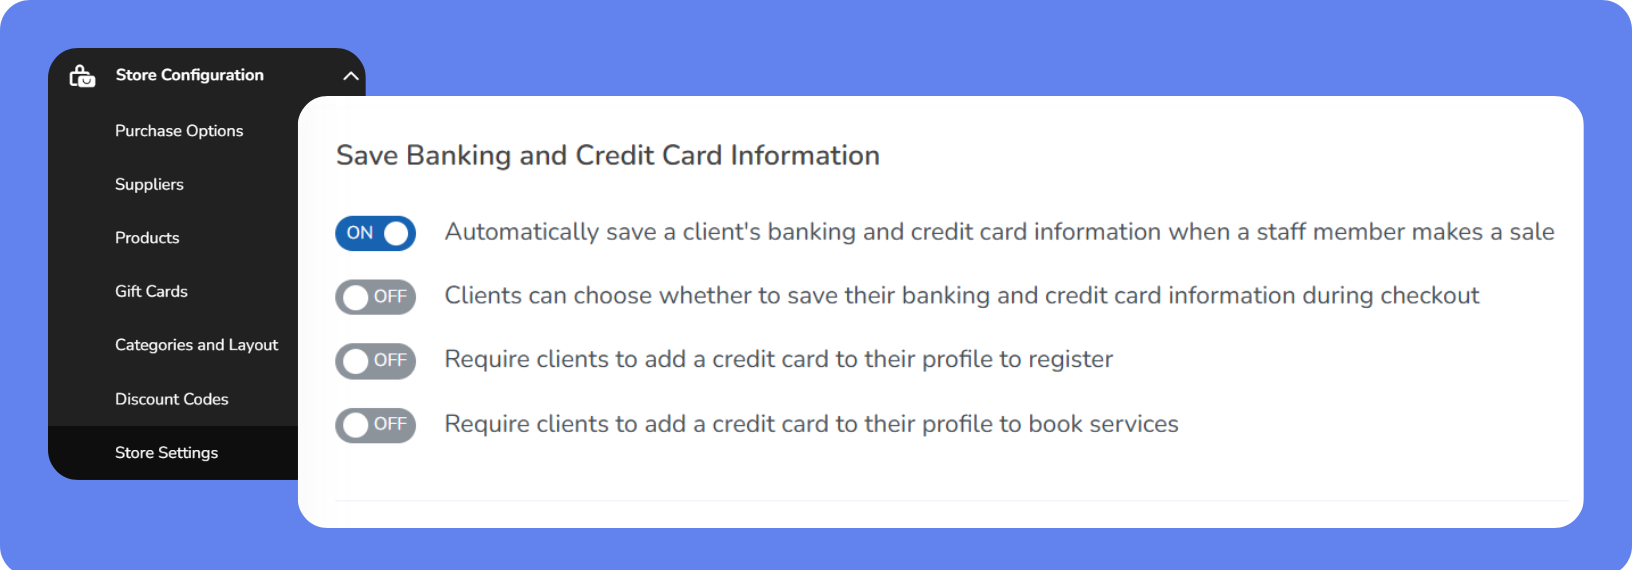
Credit card information can be saved to a client profile after completing a transaction through the terminal when the Save Payment to Client Profile store setting is enabled and the sale is approved. Cards can't be saved manually on the terminal.
Refunds and void transactions must be processed in the Staff Back Office. To cancel a payment before processing, press the red button on the terminal; the Staff Back Office shows a notification without affecting the cart.
Multiple voids may appear in WellnessLiving reports when specific actions are taken on the Checkout page during a sale. A void record is generated when:
You start a transaction using the card swiper, but click Cancel Transaction before finishing the sale.
A transaction is approved on the terminal but canceled before WellnessLiving confirms that it's successful.
A transaction is successfully processed on the terminal, but any action or change is made on the Checkout page in WellnessLiving before the sale is confirmed and completed. This includes:
Modifying the tip or sale amount after processing.
Adding a payment method.
Closing or refreshing the browser.
Changing item quantities.
Any action that affects the sale amount before confirmation and completion in WellnessLiving.
When a terminal repeatedly attempts a $1.11 authorization, it is likely because the terminal is in Demo Mode. Contact Paragon to disable Demo Mode.
When splitting a payment, only one terminal can be used. The order of payments can be selected during checkout.
Error messages on the terminal show only basic statuses such as Approved or Declined. Contact WellnessLiving Support if the reason for failure is unclear.
Tipping
Paragon terminals support both dollar ($) and percentage (%) based tipping.
Up to four predefined tipping options can be configured, which may include any combination of dollar or percentage values. In addition to these predefined options, the terminal supports a custom tip entry, though this is limited to dollar-based amounts only.
A no-tip option can also be included. If tipping is enabled without predefined options, clients will only be able to enter a custom dollar amount.
Enable tips in Paragon and WellnessLiving
To enable tips, configuration must be completed in both Paragon and WellnessLiving.
Enable tips in Paragon.
Tips must be activated directly through Paragon. This includes enabling tipping functionality and configuring any predefined tip values as needed. Contact Paragon Customer Support to complete this step.
Enable tips in WellnessLiving:
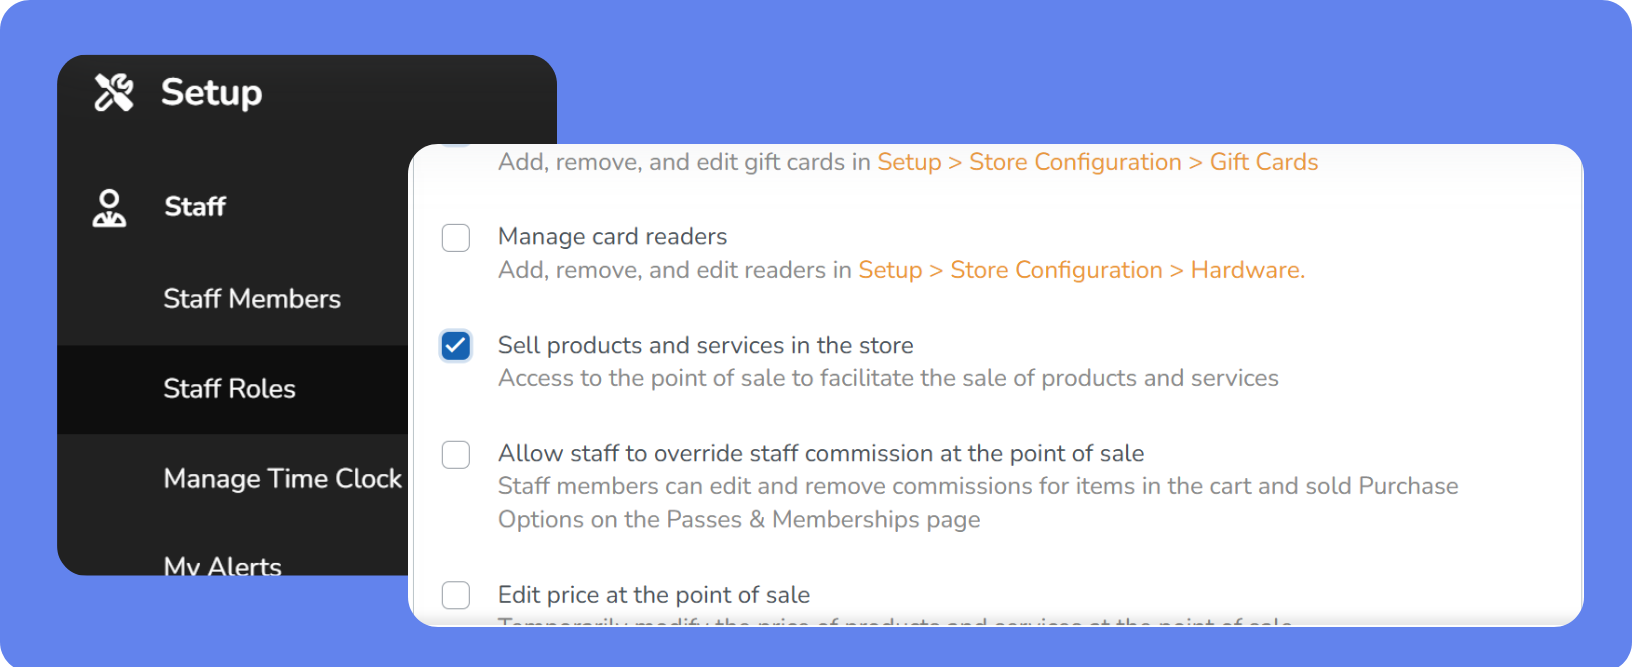
Select either the Manage the store or Sell products and services in the store staff role permission to ON.
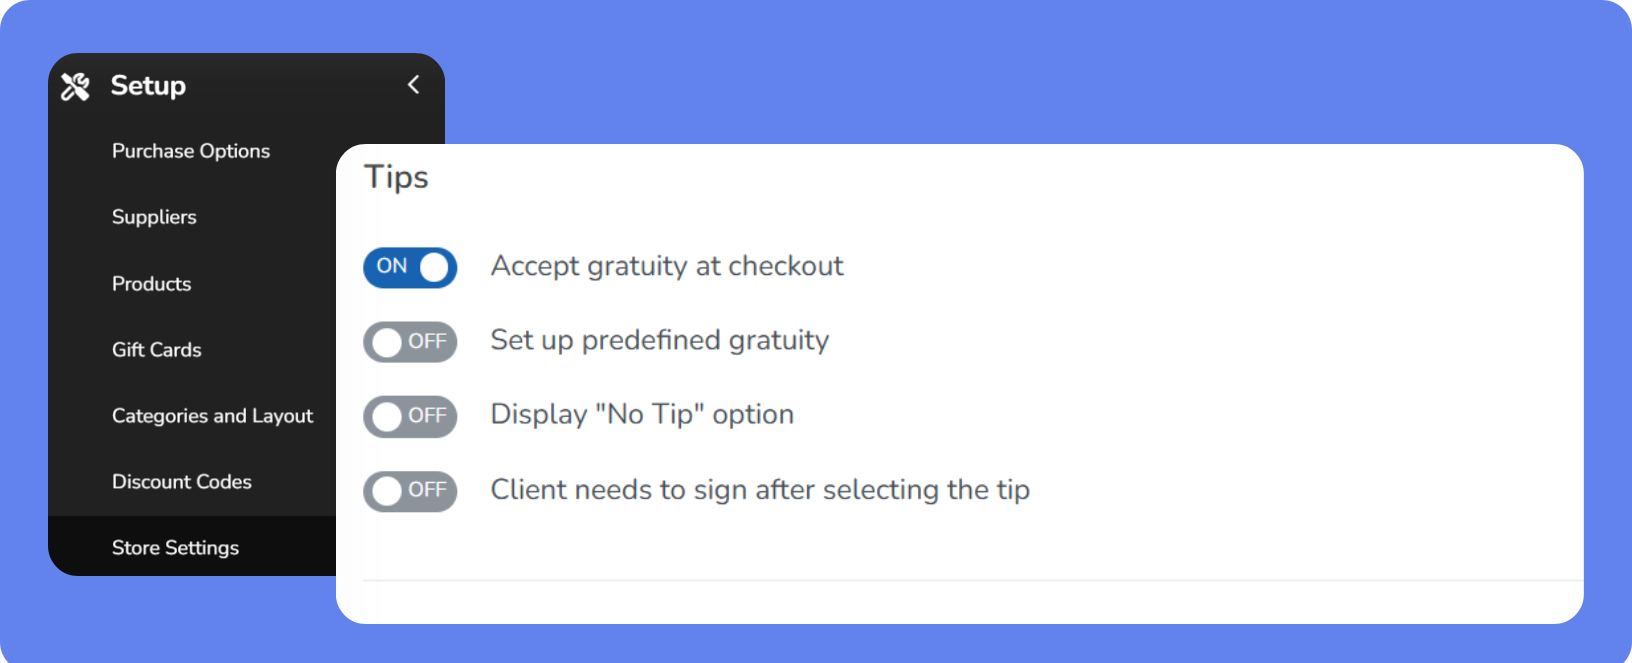
Set Accept gratuity at checkout store setting to ON.
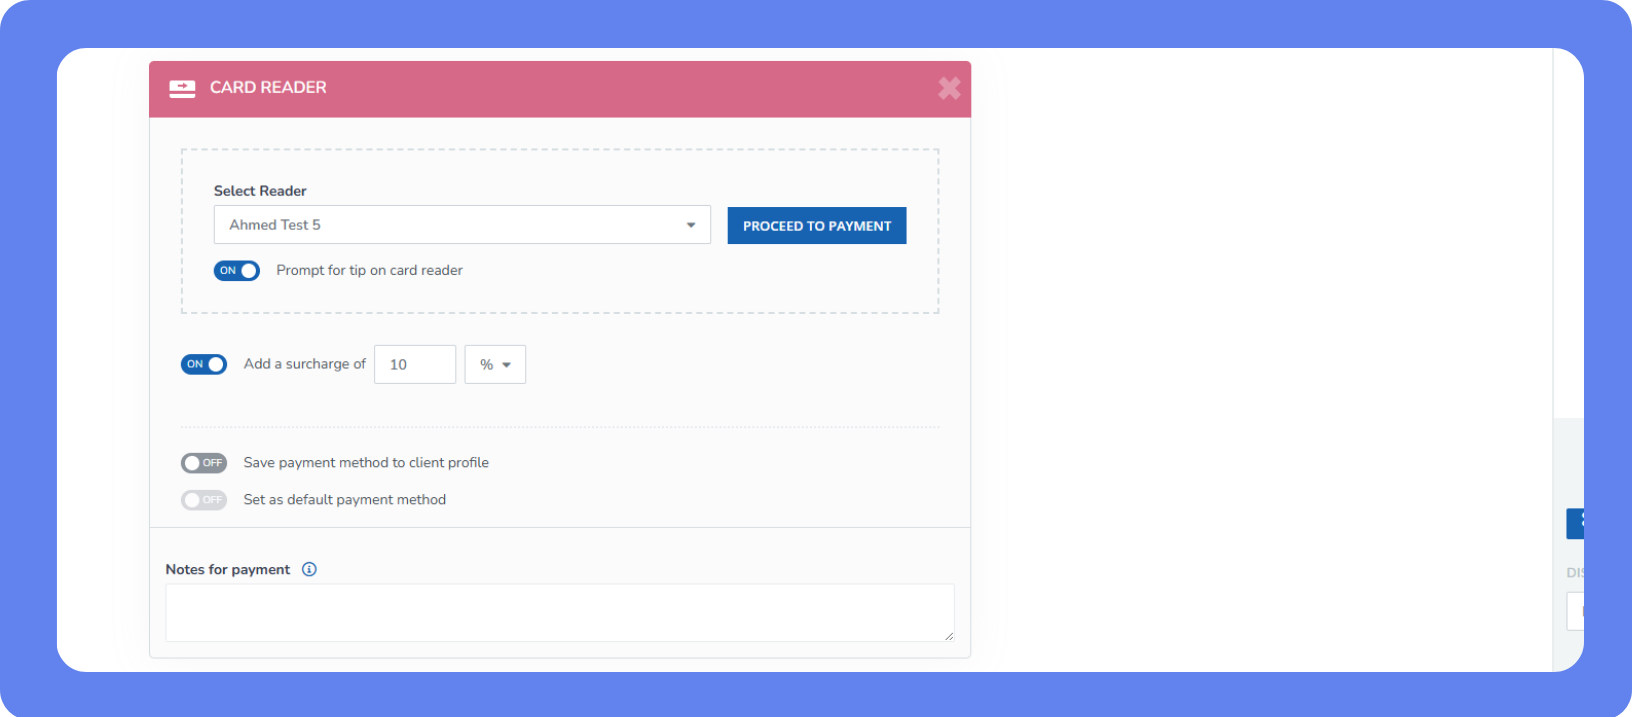
Set Prompt for tip on card reader to ON in the store checkout.
Note: When splitting payment methods, tips can only be assigned to one payment method. When tipping is enabled for one payment type and needs to be reassigned to another, disable this setting on the initial payment method, and enable it on the new one.
Tips on the Terminal versus the Checkout page
Tips can be enabled on both the terminal and the WellnessLiving Checkout page in the Staff Backend, but it’s recommended to use the terminal for tip collection. Here’s why:
When tips are added through both the checkout and the terminal, the values are combined in the final sale.
For example, if a $1 tip is added in checkout and another $1 tip on the terminal, the terminal reflects a subtotal of $21 (for a $20 product), with an additional $1 tip recorded.
Changing the tip amount on the Checkout page after entering a tip on the terminal voids the transaction. However, adjusting the tip amount in checkout before a tip is entered on the terminal won’t void the transaction. Instead, the tip from checkout is included in the sale amount displayed on the terminal.
When a tip is added to an appointment during checkout, the prompt for tipping won’t appear on the terminal.
When tips are added through the Checkout page, Paragon treats the full amount as a single sale value and doesn’t visually distinguish the tip from the product or service on the printed receipt. However, the tip is still recorded in WellnessLiving reports. By contrast, when tips are collected via the terminal, Paragon recognizes the tip as a separate line item, and this is clearly reflected on the printed receipt
For example, the receipt shows an $8.00 sale + $2.00 tip.
Security
Paragon terminals use End‑to‑End Encryption (E2EE).
If a terminal is lost or stolen, send an email to merchant@wellnessliving.com and customercare@paragonsolutions.com with:
Model of the device
Serial Number (S/N) or Terminal ID (TID)
Location where it was lost or stolen
Police report if applicable
Terminals have a security feature that detects physical tampering. If someone attempts to modify the internal hardware of a terminal, Tamper Warning message appears on the device. Contact merchant@wellnessliving.com immediately.
Receipts and printing
Receipts include:
MID: Merchant ID
Header Line 1: Business Name (DBA)
Header Line 2: Address line 1
Header Line 3: Address line 2
Header Line 4: Phone number
Header Line 5:N/A
To change receipt headers (such as business name or phone number) or for instructions on how to enable and disable the printer contact Paragon.
If the thermal printer doesn’t print, check the installation of the receipt roll.
Accessories
The following accessories and peripherals for these devices must be ordered from a third-party supplier:
Tilt and swivel stands – Enhance the functionality and usability of a terminal and feature adjustable mechanisms that allow you to change the orientation and angle of the terminal.
Privacy shields – Prevent bystanders from observing the keypad as clients enter their confidential personal identification numbers (PINs) during a transaction.
Backplates – Protect the rear surface of the electronic device and also serve as an anchor between the terminal and a tilt and swivel stand. You must check if a backplate is required when planning to use a tilt and swivel stand.