
Staff members can create new client profiles or add new walk-in clients to your business.
After creating a client profile, clients with client notification enabled receive the welcome email. By default, the welcome email includes all sign-in information a client needs to access their new account, and the template can also be customized to include any extra information you'd like to show your new client.
The client’s profile information and notification settings can be changed at any time.
Key tips
It can take a few minutes before new clients appear across your business, but they are displayed immediately in the Recently Added list when you Search.
The City field in a client’s profile details auto-updates based on the address of your business location, or the client’s home location if your business has multiple locations.
When Message Center is enabled, each phone number can only belong to one client.
Browser - Staff Back Office
There are several options available for adding clients listed below.
Add a new client from the App Drawer
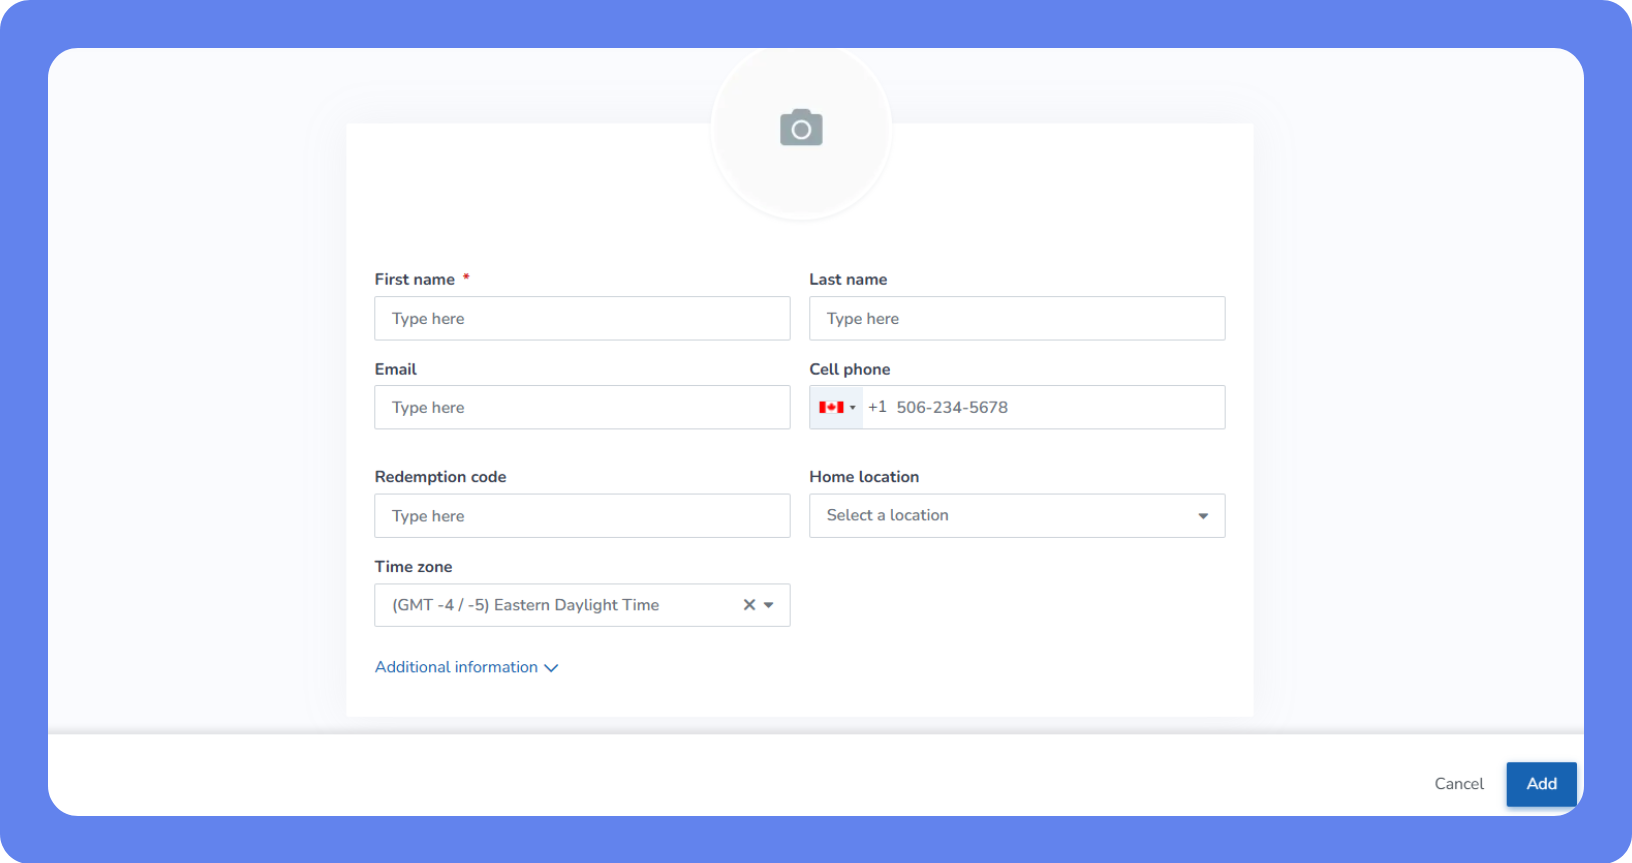
To add a new client from the App Drawer:
Open the App Drawer
 then click View All > Add Client.
Enter the client’s information in the client profile fields.
Click Create Add.
Add a new client from the attendance list of classes and events
To add a new client from the attendance list of classes and events:
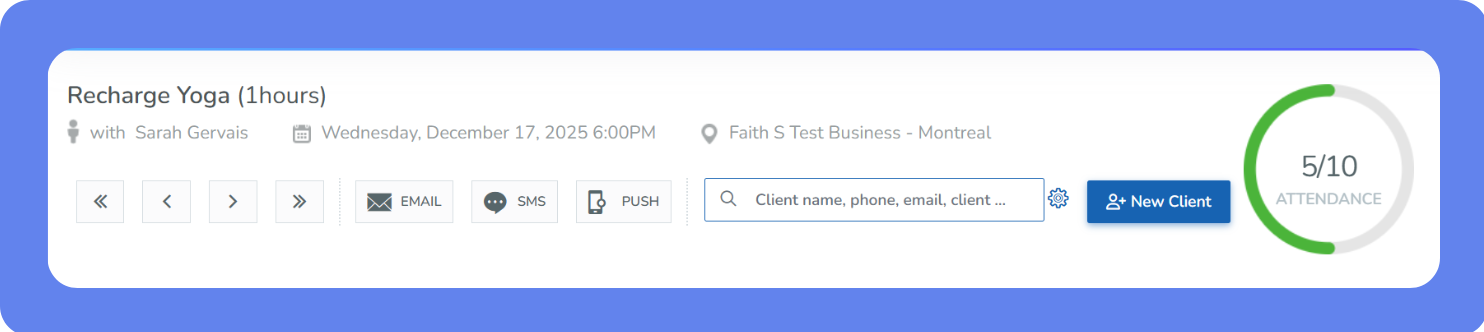
Open the App Drawer
then click View All > Schedule.
Click the name of the class or event you want to view the attendance list.
Click View Attendance List.
Click +New Client.
Enter the client’s information in the client profile fields.
Select either:
Create Unpaid – Creates the new client profile and books them into the service without payment.
Create & Pay – Creates the new client profile and opens the store screen to complete the sale.
Add a new or walk-in client when booking an appointment from the schedule
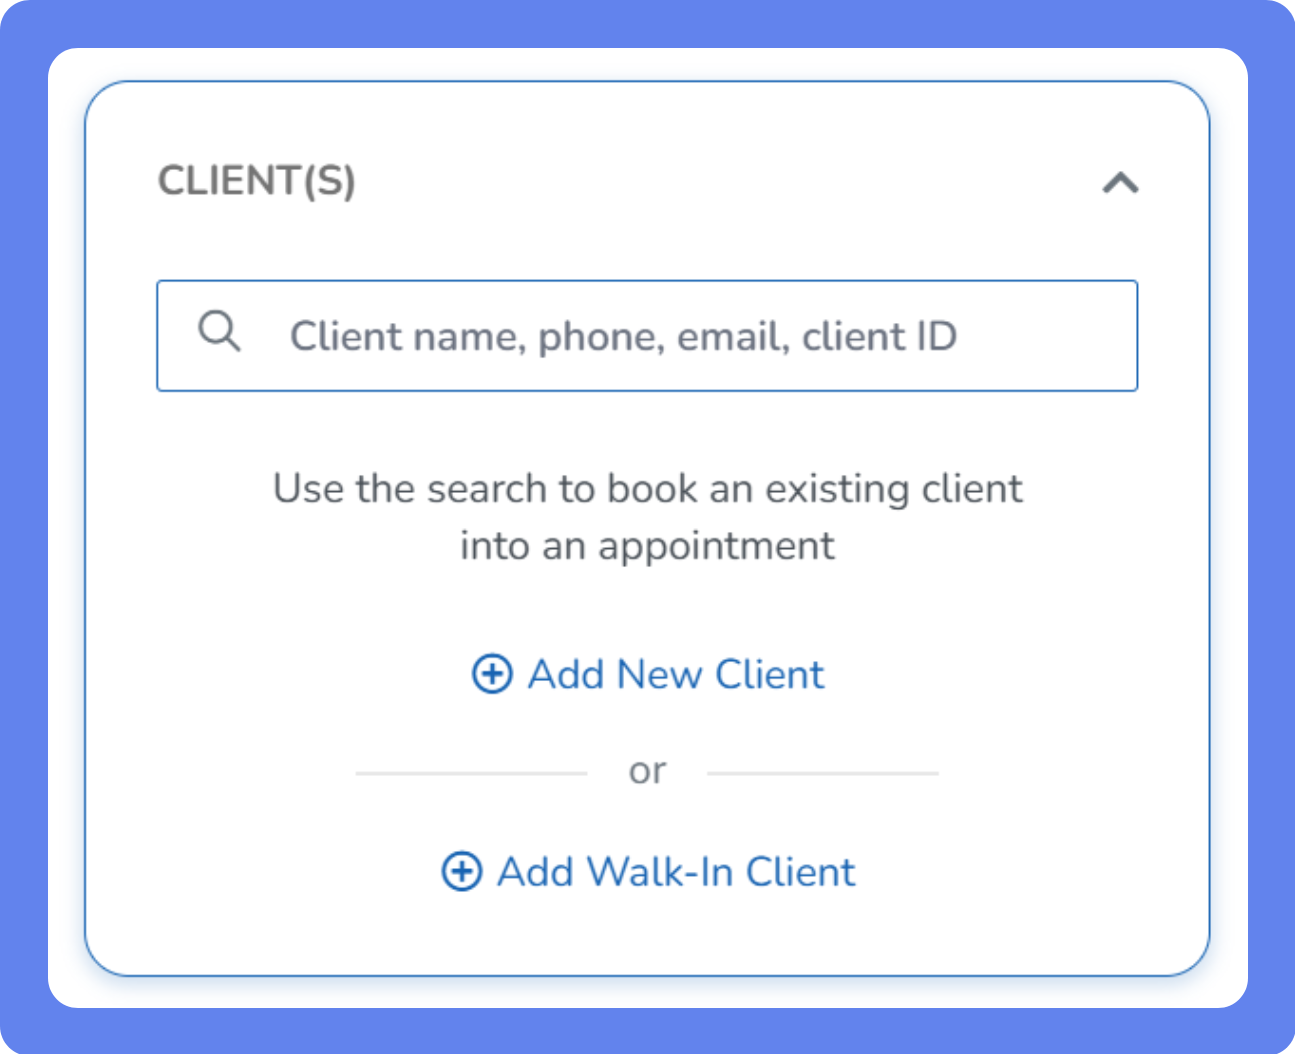
To add a new or walk-in client when booking an appointment from the schedule:
Open the App Drawer
then click View All > Schedule.
In the top left corner of the schedule, click +Add > Book Appointment.
Under CLIENT(S), click +Add New Client or +Add Walk-In Client.
Convert walk-in clients into a new or existing client profile during the booking by clicking Convert to client, or after the booking by clicking More
 and selecting Convert to new client or Convert to existing client.
When adding a new client, enter their client profile information.
Continue the appointment booking process.
Add a new or walk-in client from the store
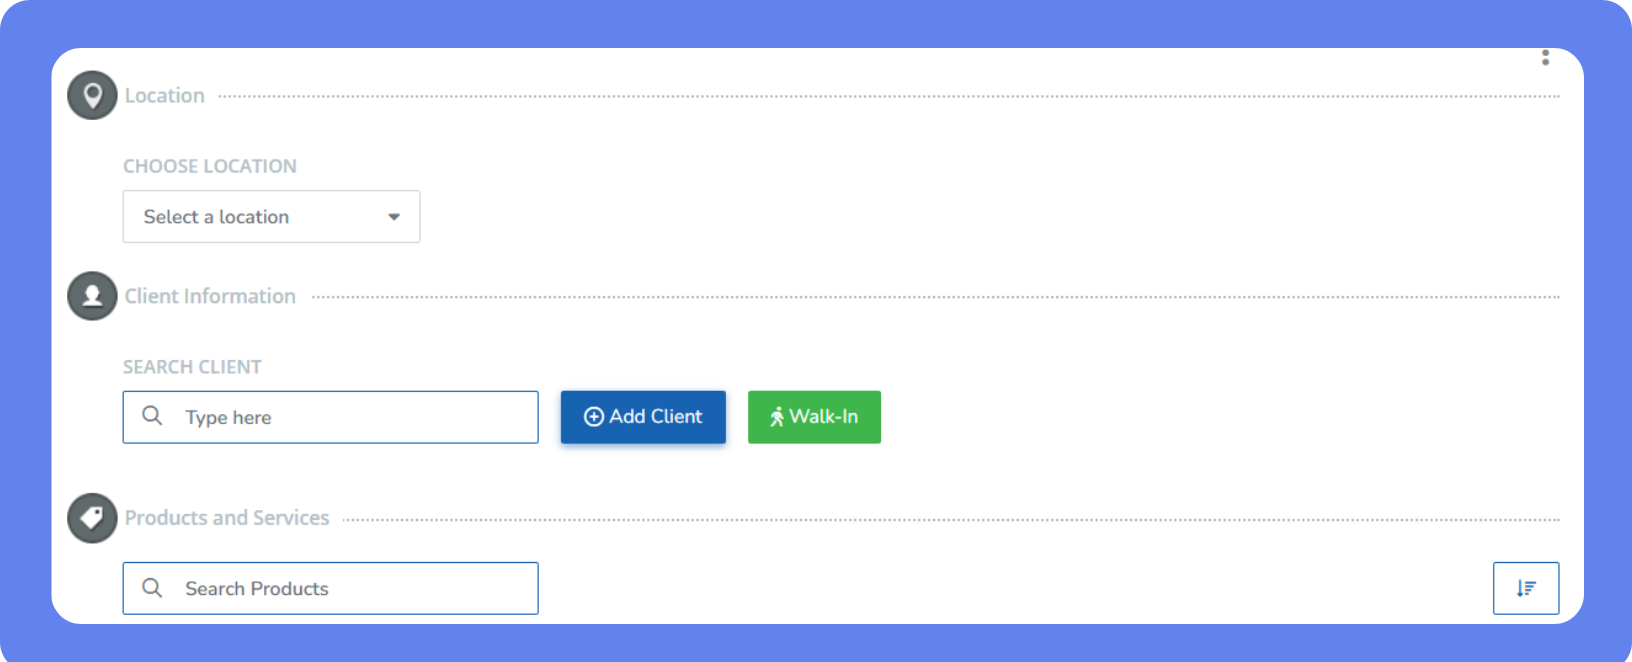
To add a new or walk-in client from the store:
Open the App Drawer
then click View All > Store.
If applicable, select the Location where the sale is being made.
Under Client Information, click +Add Client or Walk-In.
When adding a new client, enter their client profile fields information.
Continue the sale process.
Mobile - Elevate Staff App
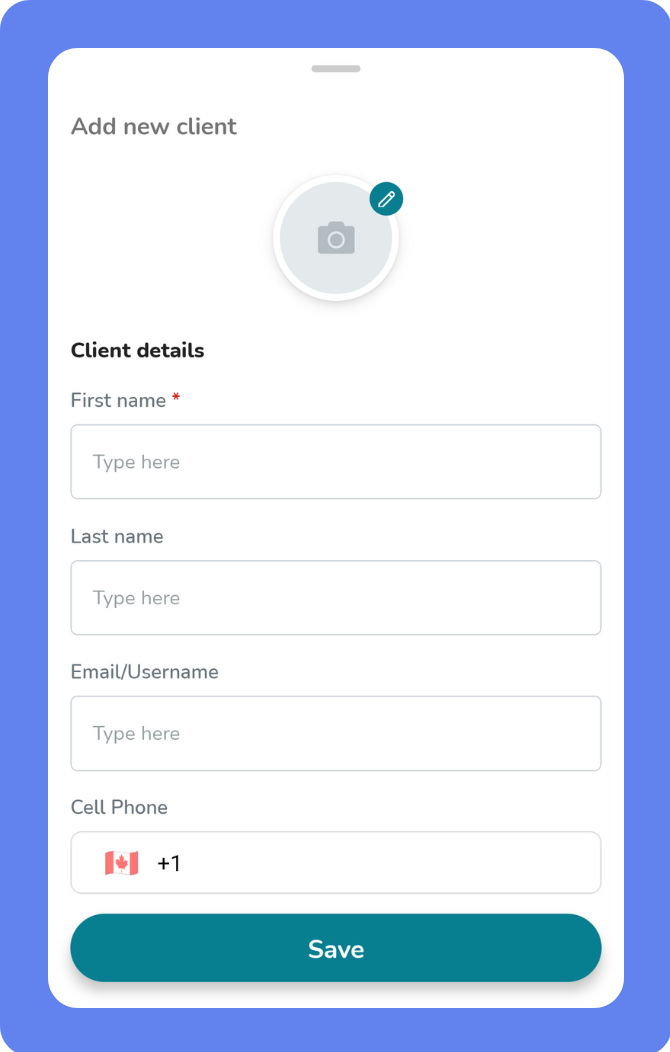
To add a new client on the Elevate Staff App:
Tap the Clients tab.
At the bottom of the page, tap Add new client.
If you have a Lead Capture Widget enabled, tap Add new lead.
Enter the client’s profile details.
Tap Save.