
Embedding WellnessLiving standard widgets on your website or Facebook page lets clients interact with your business without leaving your site. Clients can view schedules, book services, buy passes, complete lead forms, and more directly within your page content.
Standard widgets display as part of your page layout and are ideal when you want clients to engage with specific features in a dedicated section of your site.
For information about embedding the CAASI widget, see Embed CAASI chat on your website.
Key tips
Use HTTPS
Make sure your website starts withhttps://so the widget loads securely.
Test on desktop + mobile
Every website builder behaves differently. Always preview after embedding.
Confirm proper display
If something looks off, check that your domain is correctly added in WellnessLiving.
Embed a widget on your website
This walkthrough guides shows you how to embed a WellnessLiving widget on your website so clients can interact with your business directly from your site.
Step 1 — Allow widgets on your website
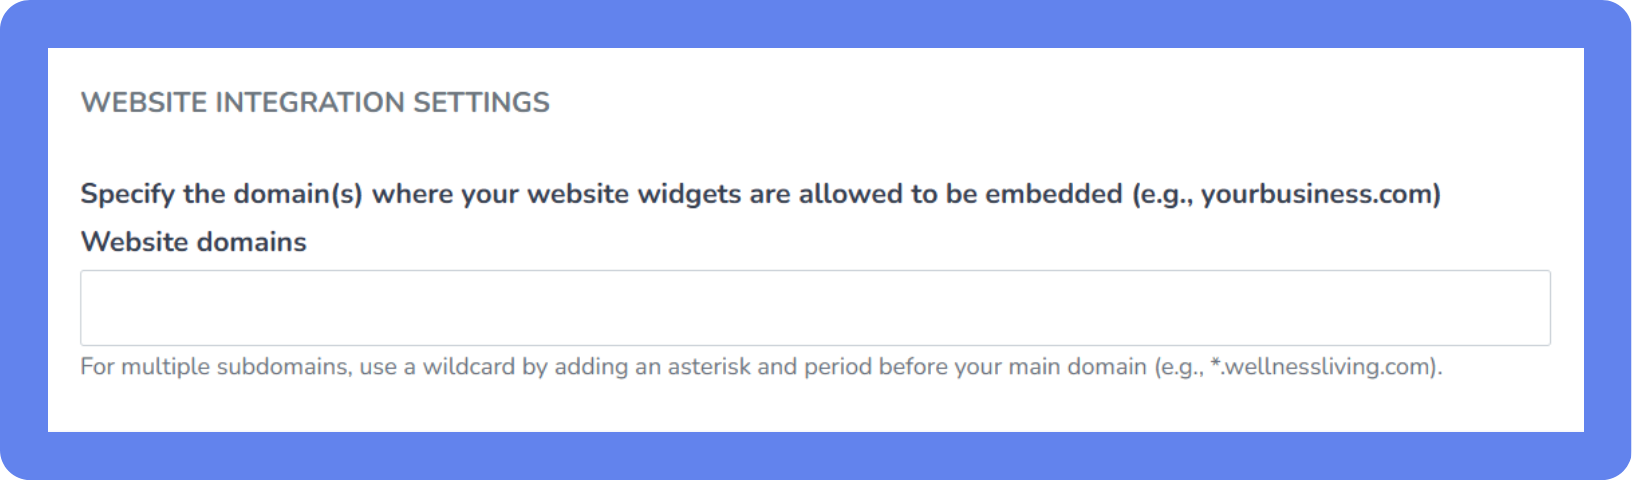
You must tell WellnessLiving which domains are allowed to display your widgets.
To allow widgets:
Open the App Drawer
 then click View All > Setup > Web Applications > Client View Settings.
Scroll to Website Integration Settings.
Under Website Address, enter your website domain.
Example:
www.yourbusiness.com
For multiple sites, separate with commas.
Example:
myfitnessstudio.com, myothersite.net
For subdomains, use an asterisk:
Example:
*.yourbusiness.com
Click Save.
Step 2 — Copy the widget code
To copy the widget code:
Open the App Drawer
then click View All > Setup.
Click Website Widgets to find your updated widgets, or click Unsupported Widgets to find older widgets that are no longer being updated.
Note: If the widget you open has an updated version available, a banner appears at the top of the page with a link to switch. We recommend using the updated version, since older widgets are missing newer features and will eventually be removed.
Select the widget type you want to embed.
If you're using the Custom Schedule, Lead Capture, Store, or Appointment widgets, choose your custom widget, then click Embed code.
If required, choose your Location.
(Optional) Enter the URL of the page where the widget will be placed.
If required, enter your Website domains. For multiple sites, separate with commas.
Copy the Widget code.
Step 3 — Embed the code in your website builder
Below are instructions for the most common builders. If your builder isn’t listed, look for HTML, Custom Code, or Embed blocks.
WordPress
To add widget code for a standard widget to a WordPress site:
Edit the page or post where you want the widget to appear.
Click the + button and add a Custom HTML block.
Paste your iframe embed code inside the block.
Click Preview to see the widget.
Click Update or Publish to make it live.
➡️ Official guide: Embed content in WordPress
Shopify
To add widget code for a standard widget to a Shopify site:
From your Shopify admin, go to Online Store > Pages.
Edit the page you want to update or create a new one.
Switch to HTML view (click the
<>icon).
Paste your iframe code.
Click Save and preview your page.
➡️ Official guide: Embed code in Shopify
Wix
To add widget code for a standard widget to a Wix site:
Open the Wix Editor and navigate to the page where you want to add the widget.
Click Add (+) > Embed > Embed a Widget.
Paste your iframe code in the code box.
Resize the box to at least 1050px tall.
Click Publish.
➡️ Official guide: Adding an HTML iframe to Wix
Squarespace
To add widget code for a standard widget to a Squarespace site:
Edit the page and click an insert point to add a Code Block.
Paste your iframe code into the block.
Click Apply, then Save the page.
View your site to confirm the widget appears correctly.
➡️ Official guide: Add code using Code Blocks in Squarespace
GoDaddy Website Builder
To add your widget code for a standard widget to a GoDaddy site:
Go to your GoDaddy Website Builder and open your site editor.
Click Add Section and choose HTML.
Paste your iframe code into the HTML box.
Click Done, then Publish your site.
➡️ Official guide: Add HTML or custom code to GoDaddy
Embed a widget as a button
The following widgets can be opened from a button instead of being embedded inline:
Lead Capture
Review
Appointment
Book-a-spot
Store
Staff
To embed a widget button:
Open the App Drawer
then click View All > Setup.
Click Website Widgets to find your updated widgets, or click Unsupported Widgets to find older widgets that are no longer being updated.
Note: If the widget you open has an updated version available, a banner appears at the top of the page with a link to switch. We recommend using the updated version, since older widgets are missing newer features and will eventually be removed.
Select the widget.
If you're using the Custom Schedule, Lead Capture, Store, or Appointment widgets, choose your custom widget, then click Embed code.
If required, choose your Location.
If required, enter your Website domains. For multiple sites, separate with commas.
Copy the Link code.
Paste it into your website’s HTML where you want the button to appear.
Save and confirm the button opens the widget correctly.
Embed a widget on your Facebook page
To embed a widget on your Facebook page:
Open the App Drawer
then click View All > Setup.
Click Website Widgets to find your updated widgets, or click Unsupported Widgets to find older widgets that are no longer being updated.
Note: If the widget you open has an updated version available, a banner appears at the top of the page with a link to switch. We recommend using the updated version, since older widgets are missing newer features and will eventually be removed.
Select your widget type.
If you're using the Custom Schedule, Lead Capture, Store, or Appointment widgets, choose your custom widget, then click Embed code.
If required, choose your Location.
Click Add to Facebook Page.
Sign in to Facebook.
Select your Page, then click Add Page Tab.
Check your Page sidebar to confirm the widget tab appears.