
Your WellnessLiving Explorer Listing
A complete and personalized WellnessLiving Explorer listing helps clients discover, trust, and book with your business. These details shape how you show up in searches, how clients connect with you, and how WellnessLiving powers your business operations behind the scenes.
Verify your business address & phone number
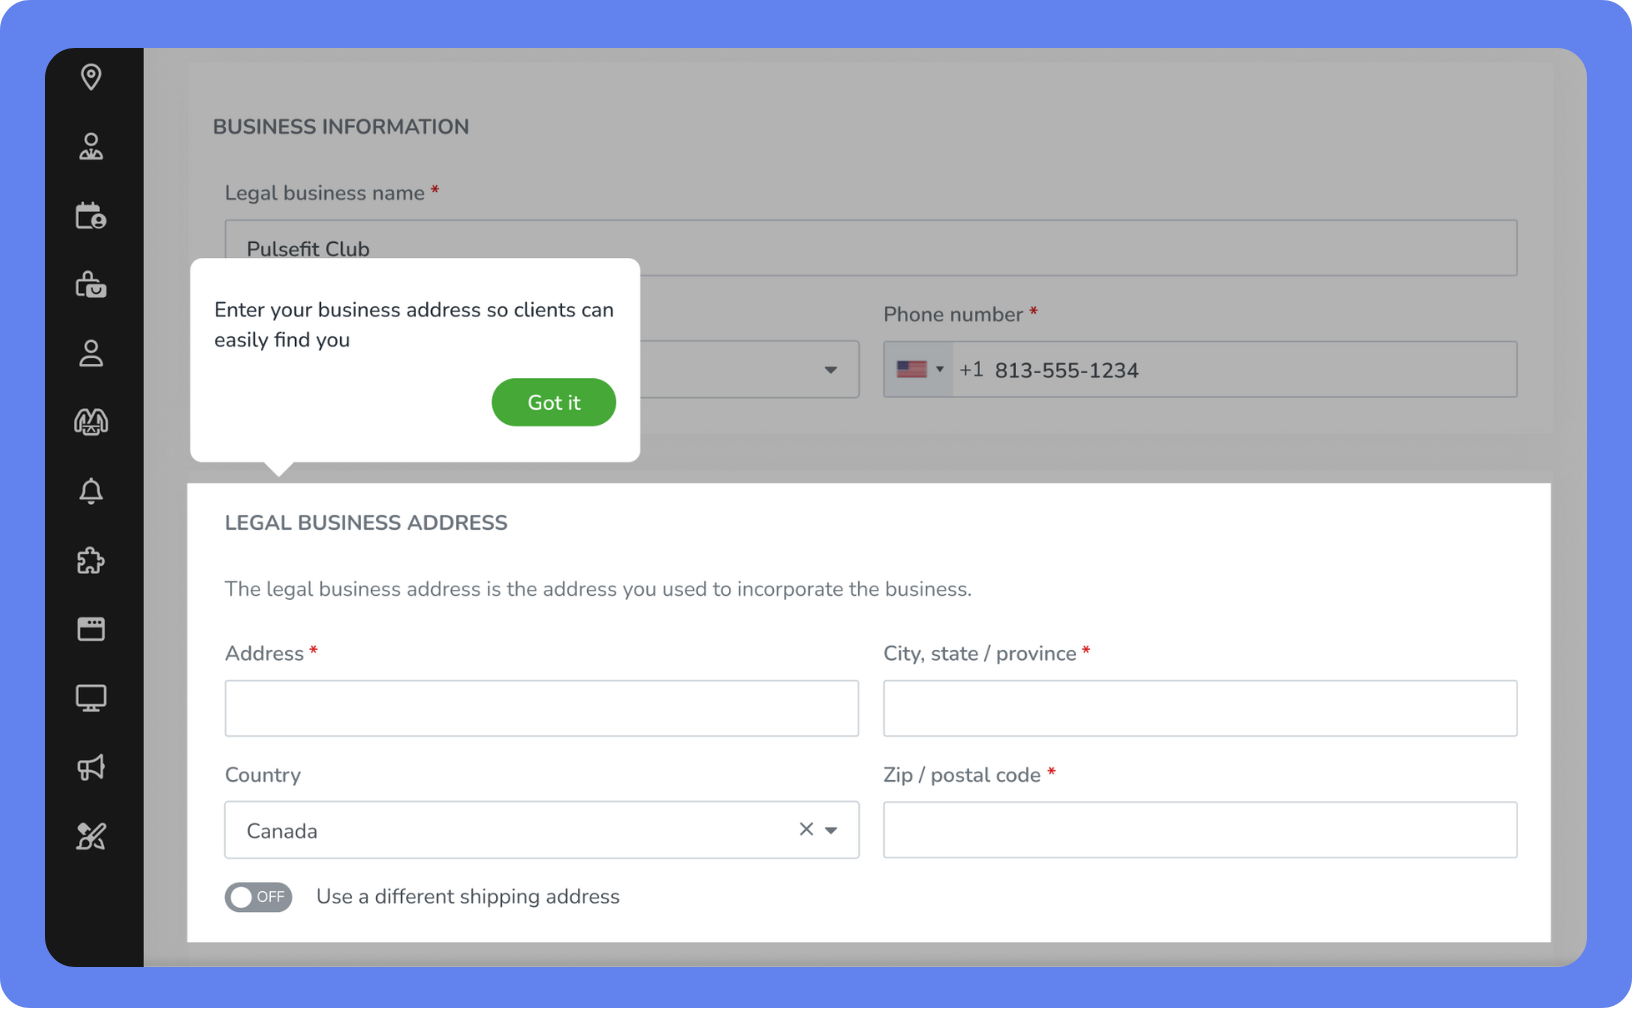
Your business address does more than drop a pin—it enables location-based search and ensures your time zone is accurate. Double-check your address and phone number to make sure clients can find you easily and contact you with questions or to book.
To verify your business address & phone number:
Open the Main Menu, then click View All > Setup > Business > General Information.
Enter your business details:
Phone Number – Main contact number (each location can have its own).
Address, City, State/Province, Country, ZIP/Postal Code – Specify your main business location or headquarters.
Click SAVE.
Add your social links
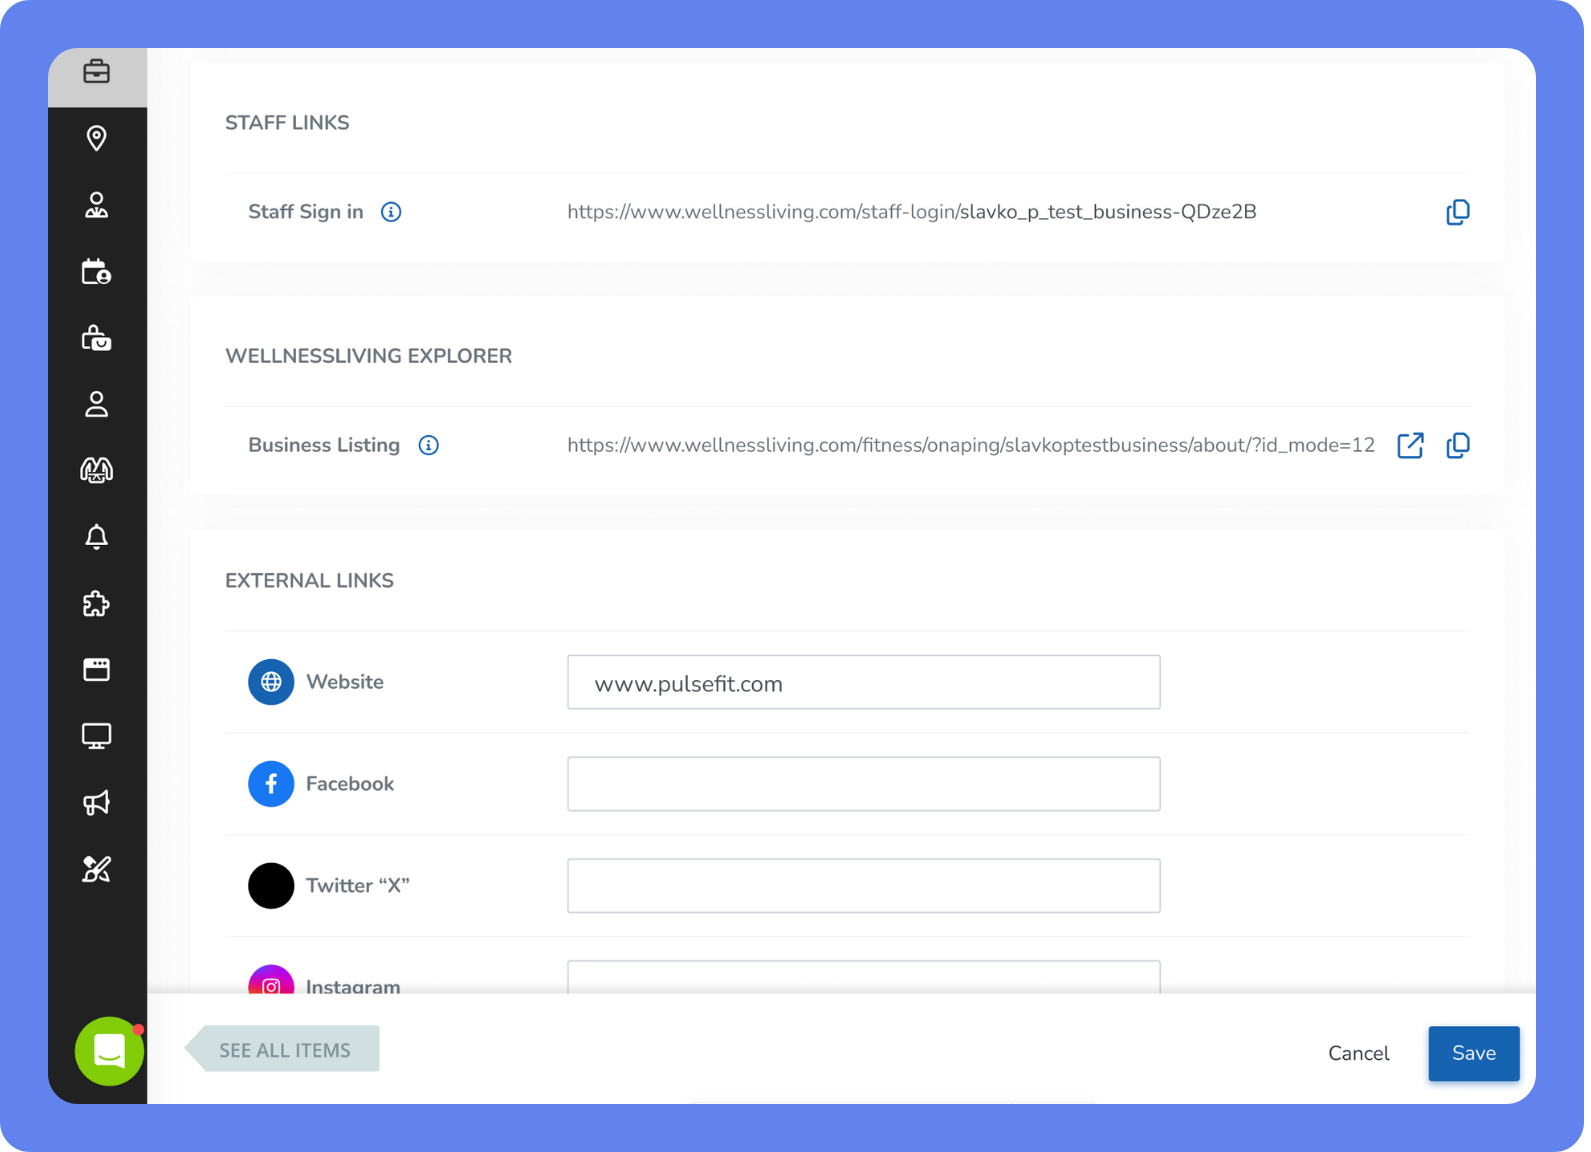
Linking your Instagram, Facebook, or other social platforms adds credibility, drives traffic, and helps clients feel connected to your business before their first visit.
To add your social links:
Open the Main Menu, then click View All > Setup > Business > Business URLs.
Under EXTERNAL LINKS, you can add your URLs for your business Website, Facebook, Twitter, Instagram, LinkedIn, and YouTube.
Click SAVE.
Verify your location details
Your location details are the foundation of your online presence in the WellnessLiving Explorer directory. These details affect how you're shown in search results, how clients book with you, and how your brand is represented across booking tools.
Complete the sections for your public listing—description, photos, business hours, and more—using the tabs provided. Think of it as your digital storefront: it should be clear, inviting, and designed to turn prospects into clients.
Each location has it’s own location profile where you can include the location’s contact info and details for clear client communication and accurate scheduling.
To edit your location details, open the Main Menu, then click View All > Setup > Locations.
Next, you’ll add your logo.
Add logo
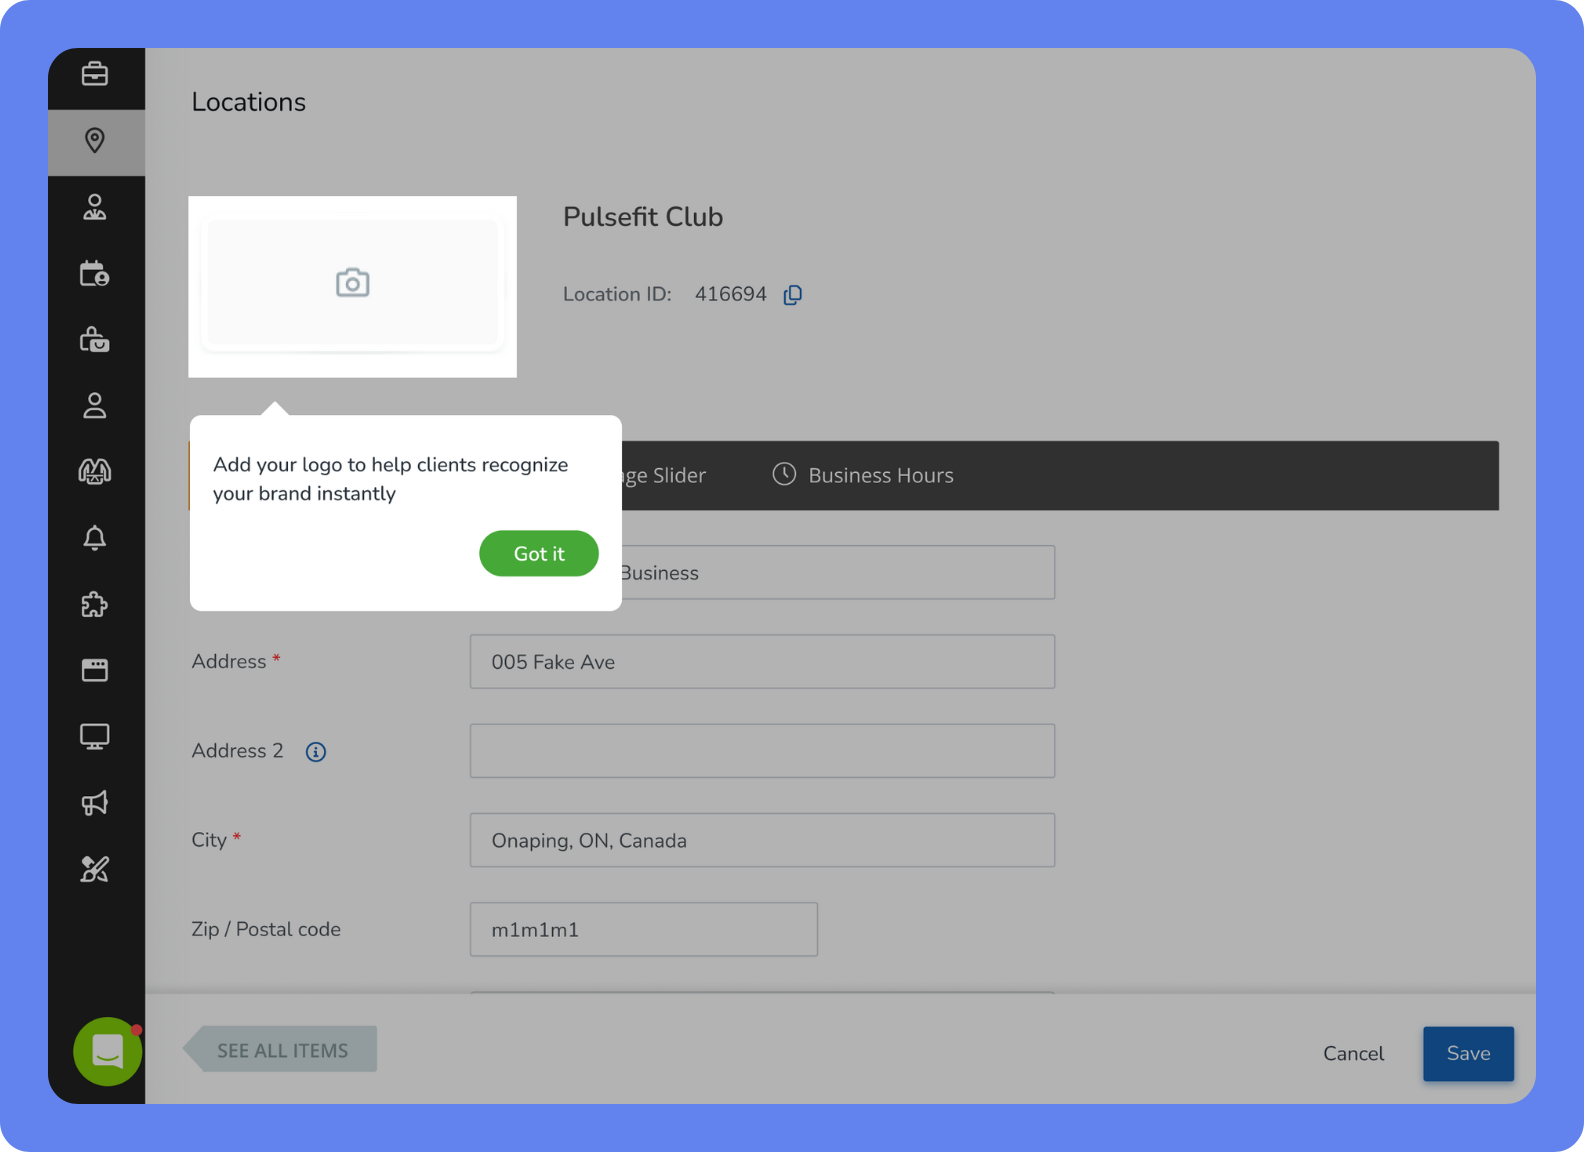
Your logo is often the first visual clients associate with your business. Upload a high-quality image to create a professional, consistent brand experience—whether clients find you online, in the Explorer directory, or on a booking page.
Image requirements: Minimum size of 220 x 100 pixels and maximum file size of 20 MB.
To upload your Location logo:
Click Add Location.
Click the image icon to upload or drag and drop your logo.
Make any necessary adjustments, then click SAVE.
Add a listing description
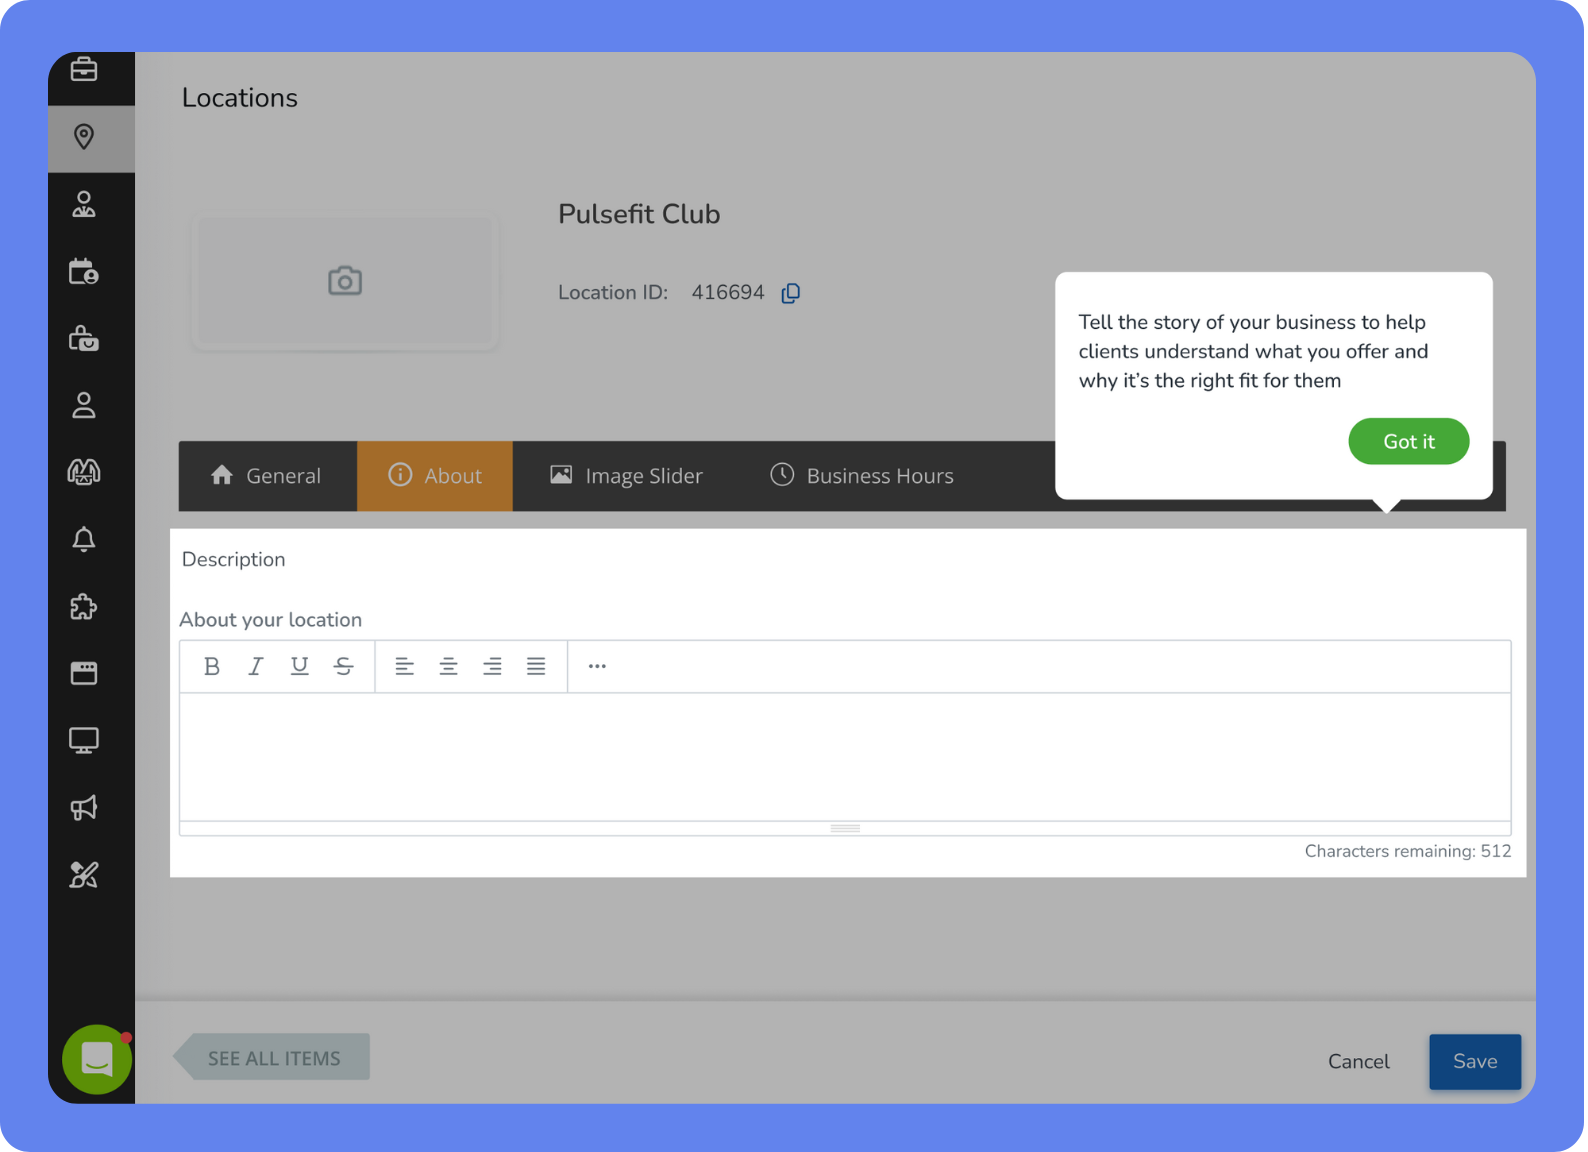
Your description is your elevator pitch—briefly share what you do, who you serve, and what makes your space unique. Highlight your core services and specialties, and give potential clients a sense of the results they can expect by coming to you.
Use tone and language that reflect your brand’s personality. A clear, engaging summary helps showcase what you offer and why clients should choose you.
Here’s how to set a location’s business description:
From the Location you created, click the About tab.
Under Description, enter the business description. Use the writing toolbar to customize the appearance and format.
Click SAVE.
Upload photos of your location
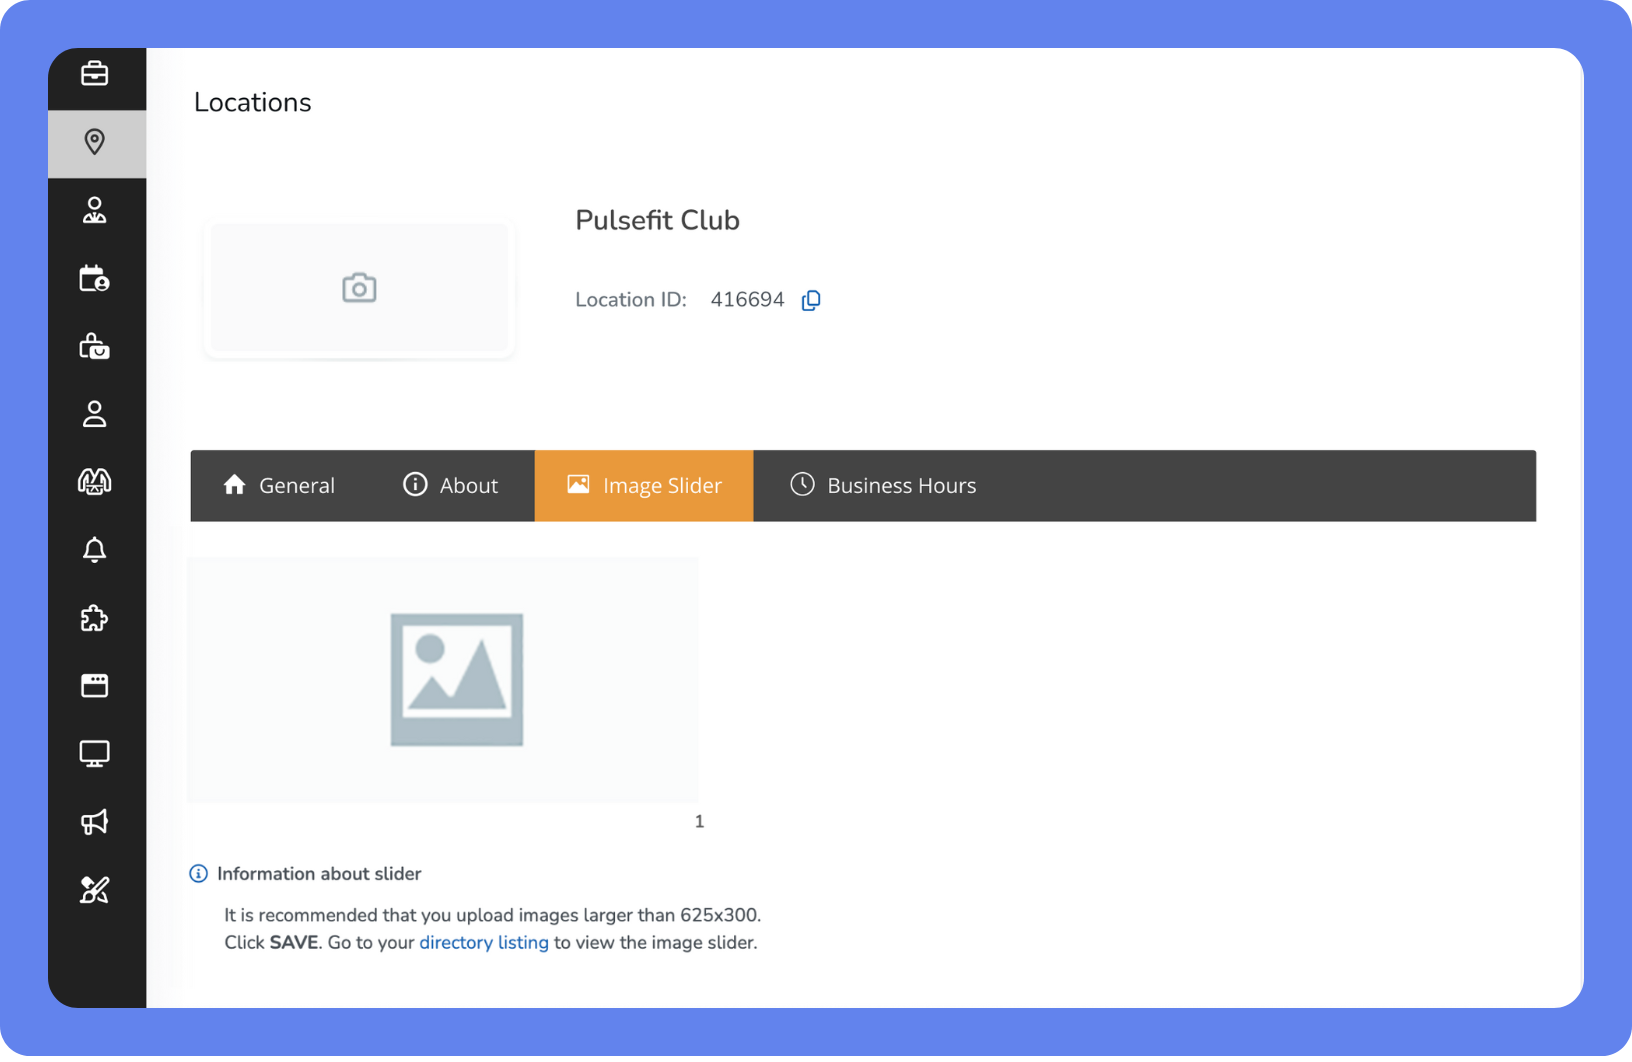
Add clear, welcoming images that show off your space—such as your services in action, your storefront or entrance, lobby or waiting area, and treatment rooms, gym floor, or training space—to help clients visualize their experience and feel confident booking.
Note: The first image you upload will also be used as the default image for any Classes or Events that don’t have a custom image.
To add photos to your image slider:
Click the Image Slider tab.
Click the Image icon to upload or drag and drop an image.
Make any necessary adjustments, then click SAVE.
To add more images, click the next Image icon that appears.
Add business hours
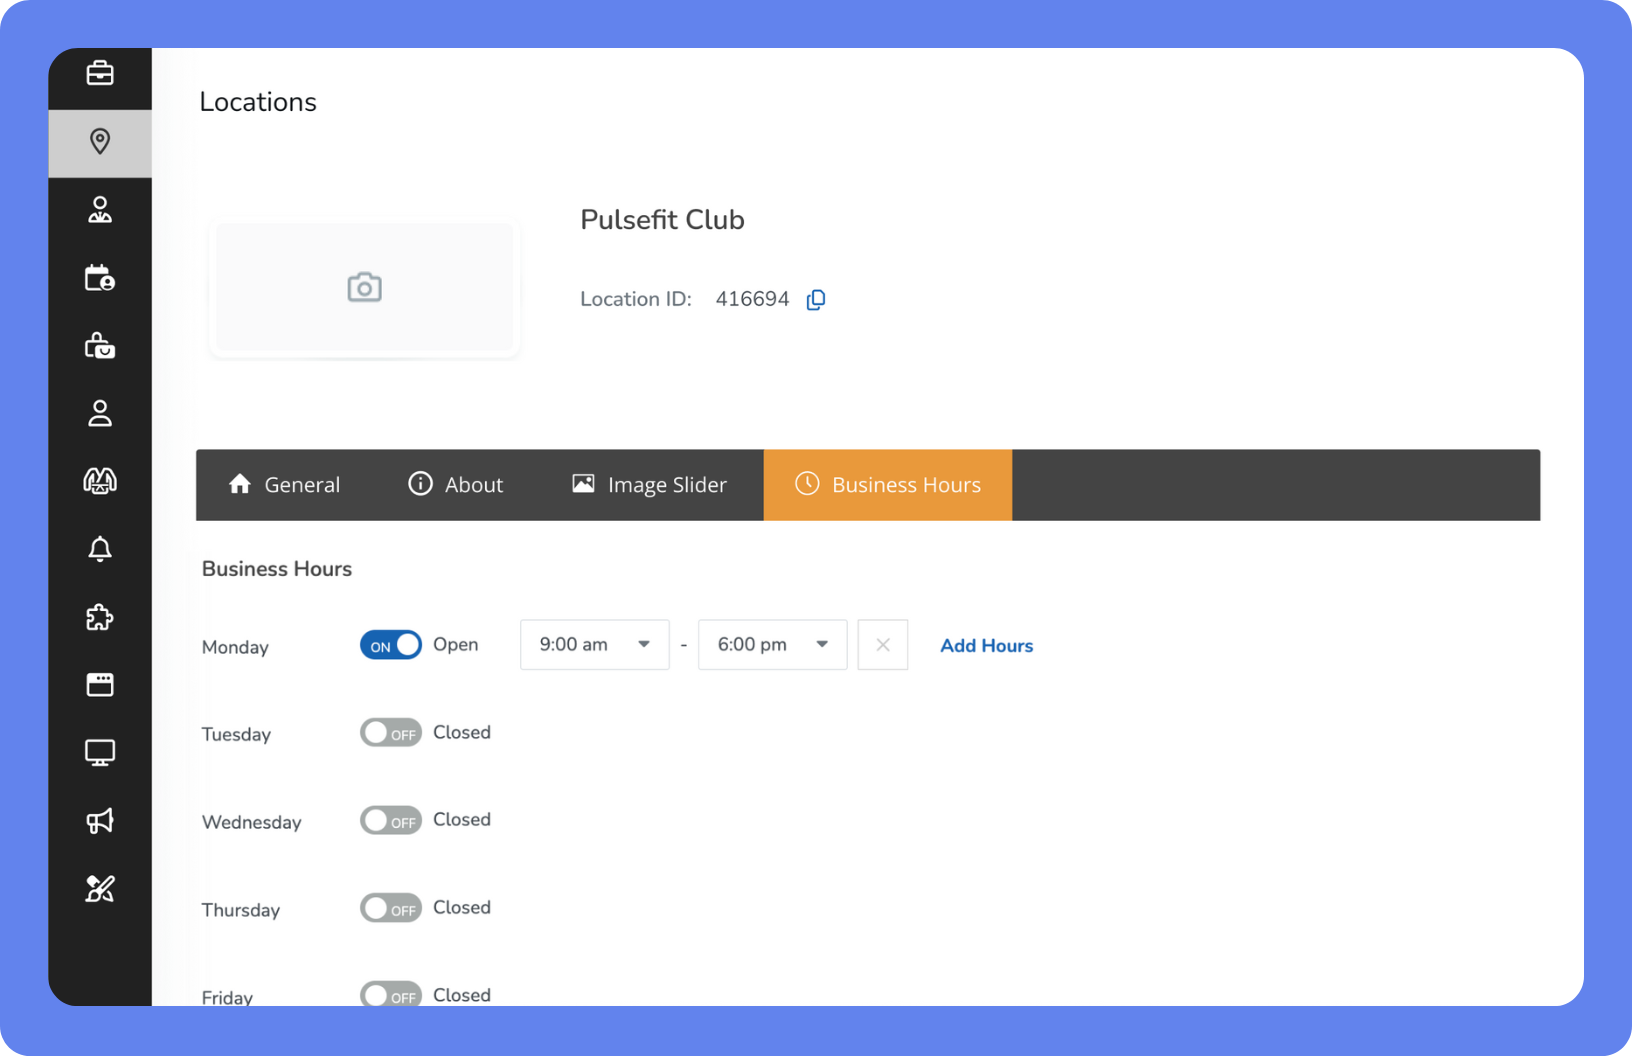
Your business hours let clients know when to contact you—and let WellnessLiving know when to allow bookings. This sets the rhythm for your calendar, automation, and notifications. Set your open hours here, you’ll define individual service schedules and staff availability next.
To update your business hours:
From the Business Hours tab, Set each day to Open or Closed (toggle ON for open days).
Enter business hours for each open day. Click Add Hours for multiple time slots.
Click SAVE.