
Customize your Branding
Your brand doesn’t stop at your logo. Create a branded experience for both staff and clients to enhance familiarity, streamline workflows, and keep clients engaged. With WellnessLiving you can customize the look and feel of the Staff Back Office, the Schedule, your automated notifications, the Client Portal, Achieve Client App and more!
Design your client experience
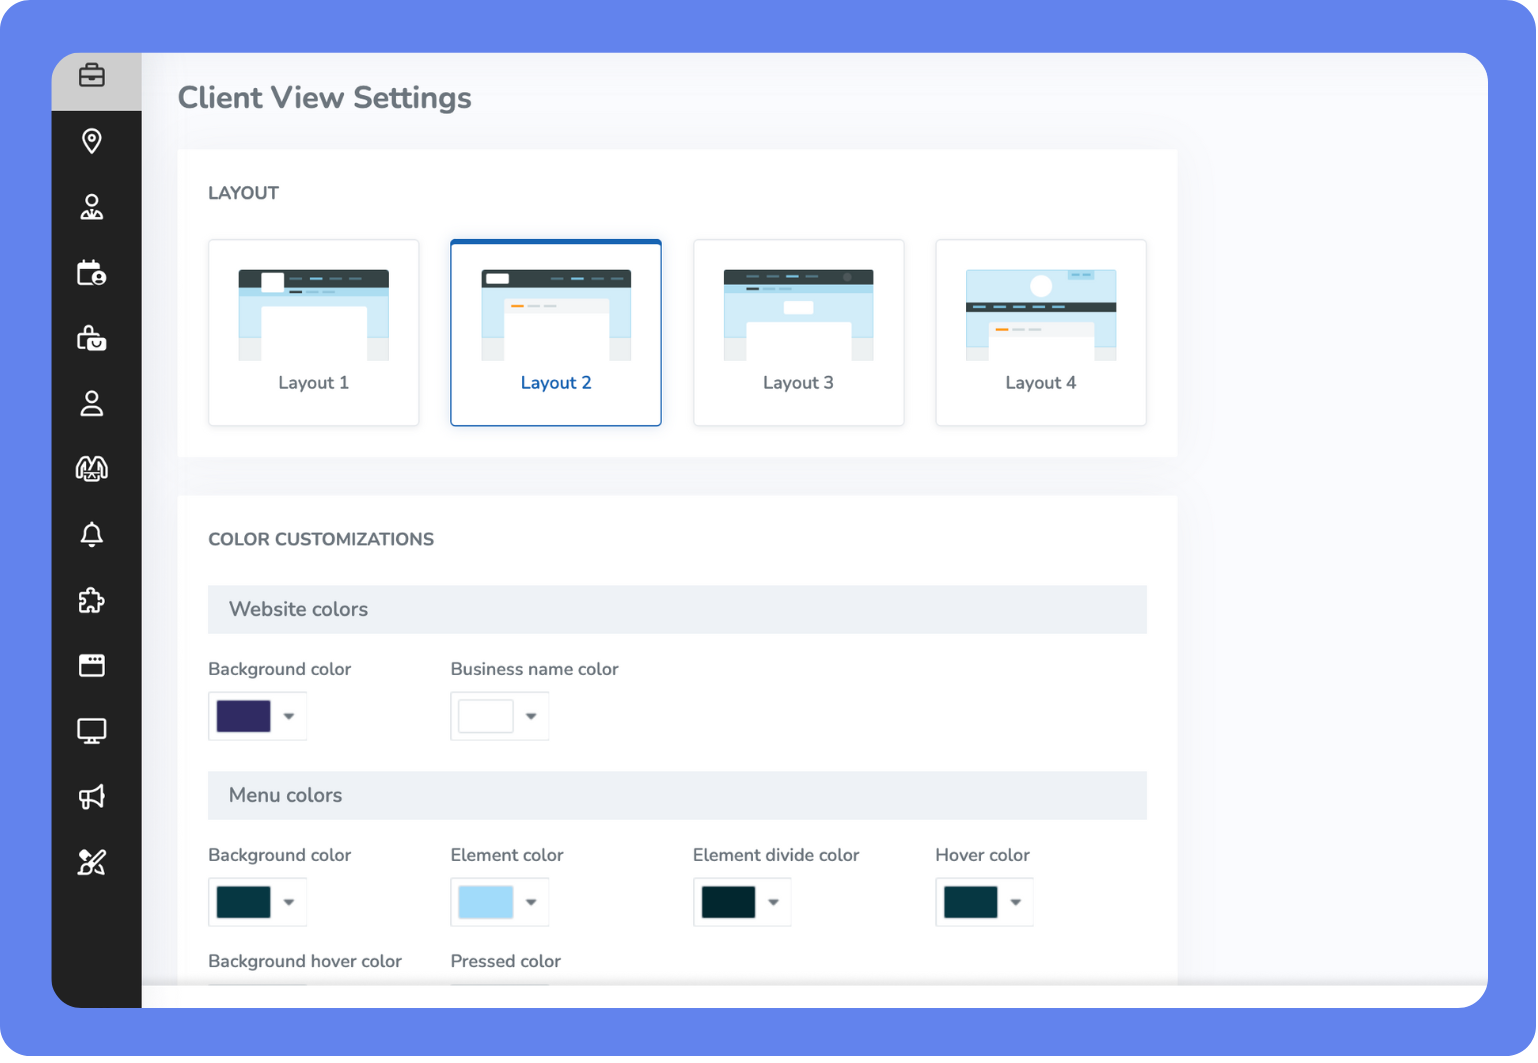
Everything your clients see—from your booking widget to confirmation emails—should feel consistent with your brand. This builds trust, reinforces your identity, and makes your business feel more professional from the very first interaction.
To customize the look of your client experience:
Open the Main Menu, then click View All > Setup > Web Applications > Client View Settings.
Adjust layout, colors, and upload your logo and header image.
Set client check-in and schedule display options.
Add services and categories to your Book Now tabs to help Clients find what they’re looking for in the Client Portal.
Click SAVE.
Customize your staff back office
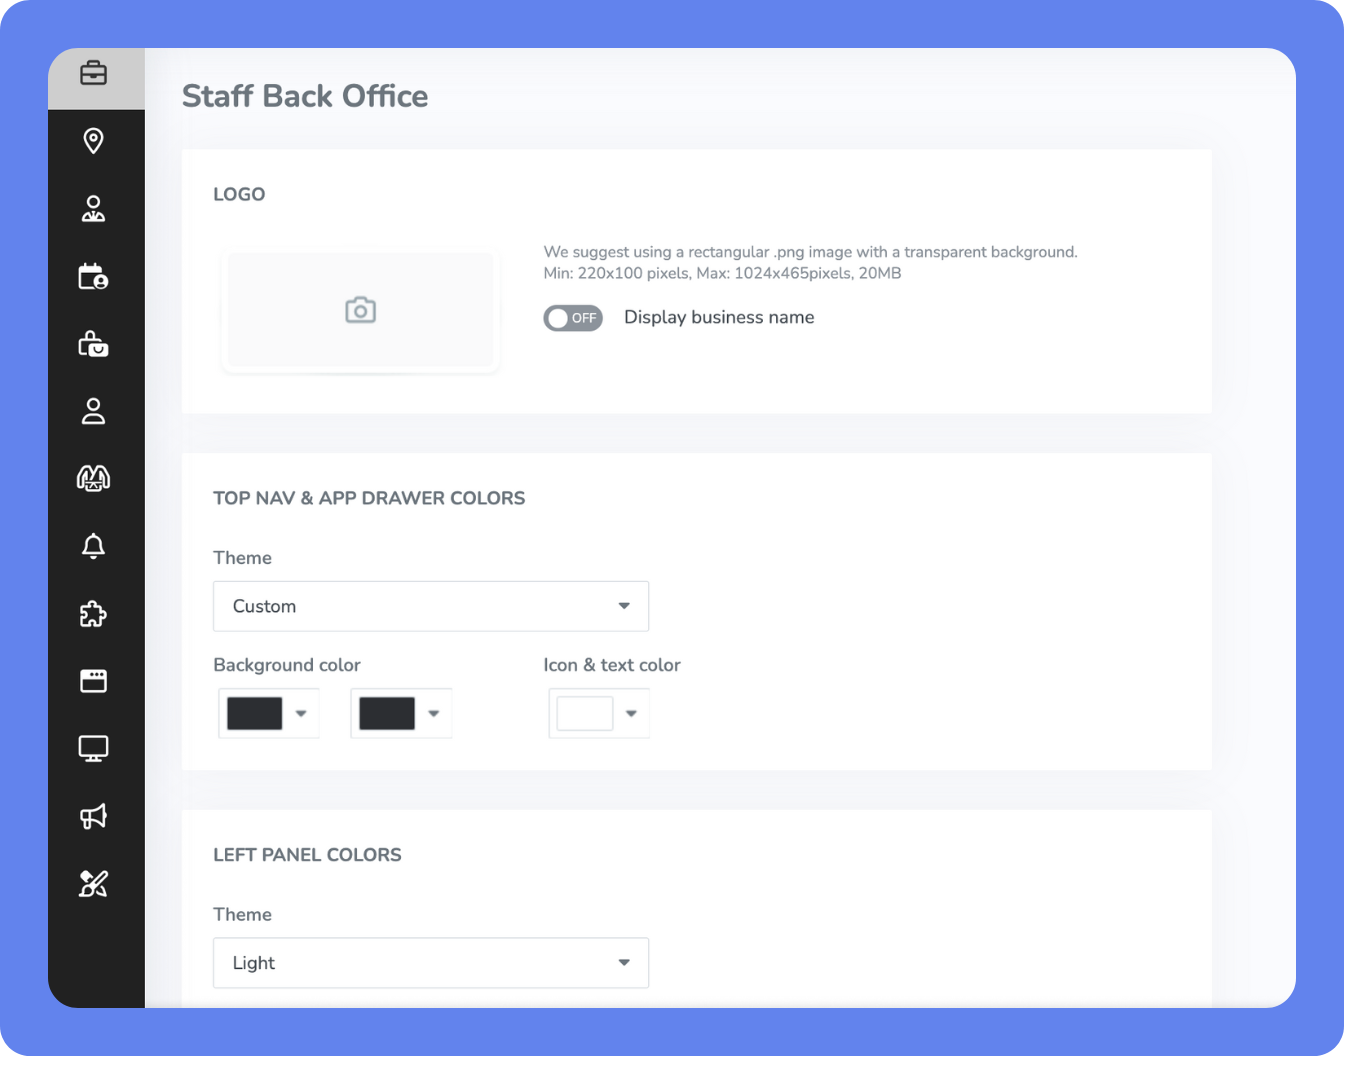
Your Staff Back Office and Elevate Staff App can be adapted to match your workflow and team preferences. Your customizations aren’t just cosmetic, they help promote efficiency.
Options include header image tile settings to prioritize what staff see when they log in, and custom labels for services, staff roles, and client fields.
To modify your Staff Back Office settings:
Open the Main Menu, then click View All > Setup > Look and Feel.
Select Staff Back Office.
Customize the Staff Back Office settings to reflect your brand and your workflow needs.
Then, click Save.
You can also pin frequently used items from the Main Menu to the top bar or side panel for quicker access. Click the action icon on any menu item, then click Pin to Top Nav Bar or Pin to App Drawer.
Customize the look of your schedule
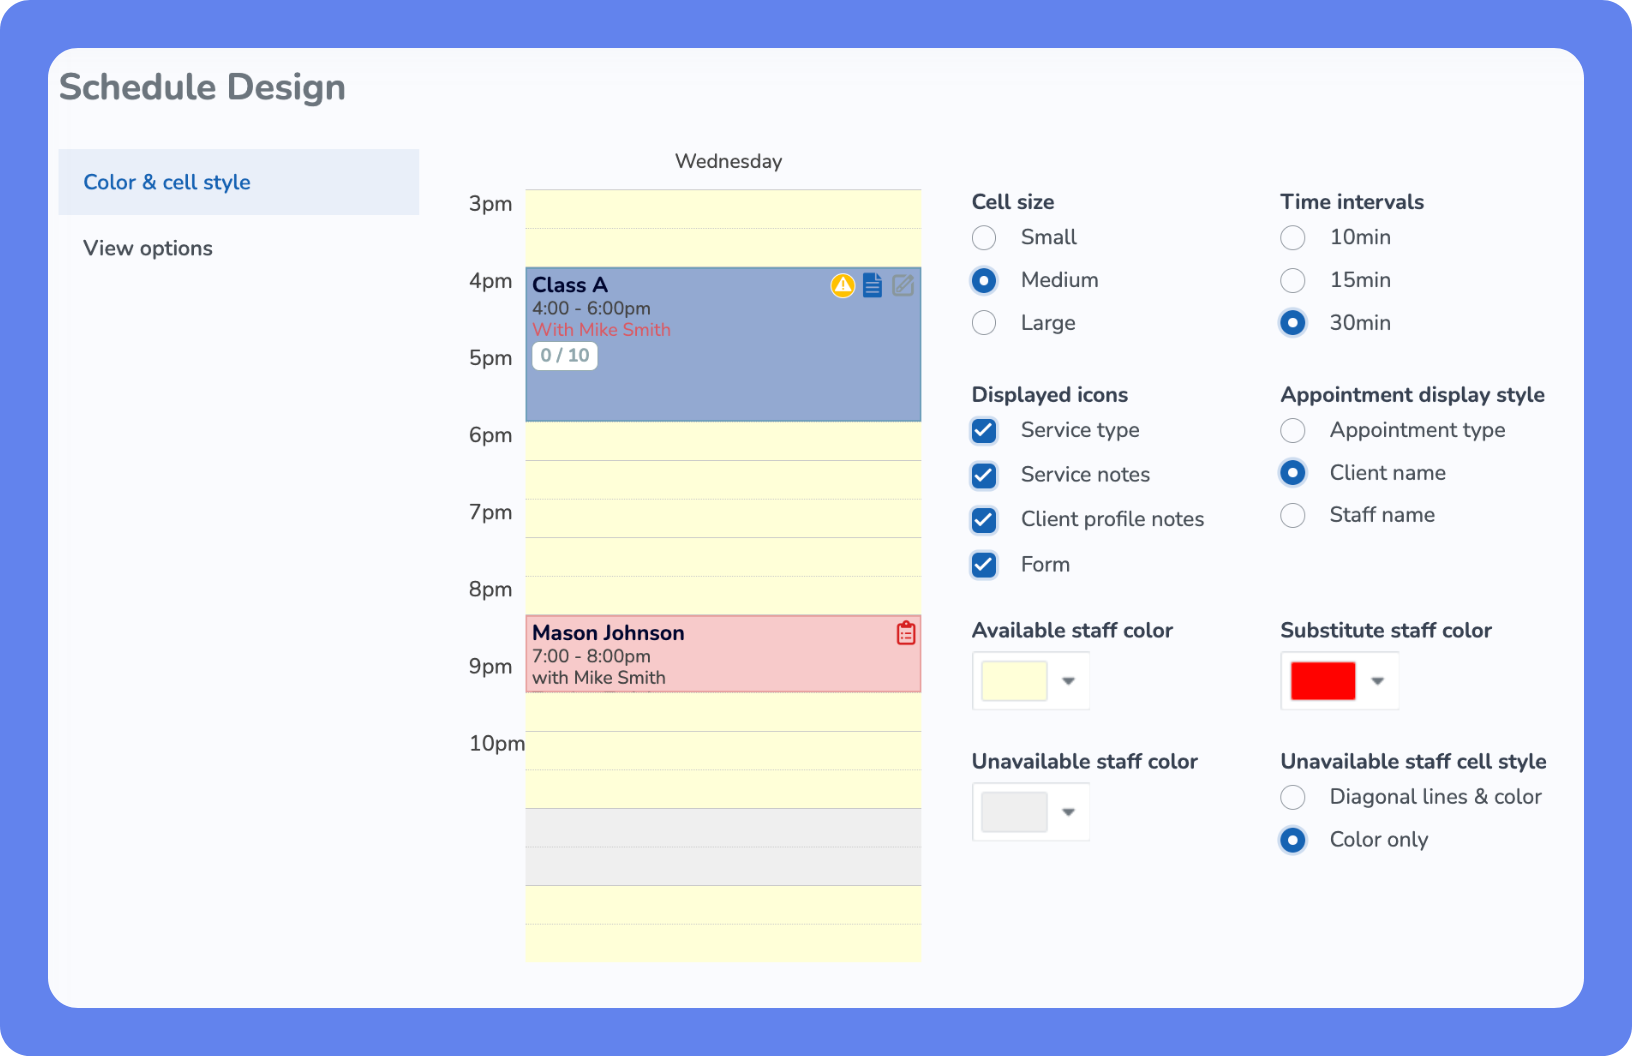
Your schedule is your team’s command center where they plan, adapt, and deliver every day. Customize the look to match your brand and make it easier for staff to navigate, manage bookings, and stay on top of what’s next.
Customize your schedule with icons and filters for easier navigation, and options to view scheduled sessions by appointment type, staff name or client name.
To customize your schedule design:
Open the Main Menu, then click View All > Setup > Look and Feel.
Select Schedule Design.
Customize the Staff Back Office settings to your liking.
Then, click Save.